DIY Mold Remediation Tips and Tricks
Finding mold in your house can be scary, and even a small spot that you think you can handle yourself can seem daunting. However, if you understand the best ways to tackle these jobs, you can save a lot of time and money by doing your own small mold remediation projects. When done correctly, homeowners can remove mold safely and effectively, and even prevent it from coming back. In the following guide, we’ll show you everything you need to know about DIY mold remediation, including tips and tricks for removing and preventing mold in your home.
Understanding DIY Mold Remediation:
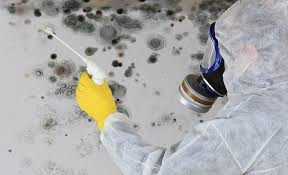
Mold cleanup is only semi-DIY. That is, certain mold problems are good for DIY, and certain others are not. Small, isolated mold should be good for DIY (but not excessively large amounts of mold). Excessive mold, also known as mold requiring a mold professional – is not an appropriate job for you and your Dust Mask. If you have allergies, asthma or other health considerations, you should consider hiring professionals to minimize your exposure.
Materials and Tools Needed:
Before you begin a DIY mold cleanup, assemble the following materials and tools. Here’s what you need to get started:
1. Personal Protective Equipment (PPE): Gloves, goggles, respirator mask, and disposable coveralls to shield against mold exposure.
2. Cleaning Supplies: mold-specific cleaner or detergent, scrub brushes, sponges and rags to clean surfaces.
3. Containment Materials: plastic sheeting, duct tape, garbage bags to contain the work area and prevent the spread of mold spores.
4. Ventilation: Fans, open windows, or exhaust fans to ensure adequate ventilation during remediation.
5. Sealants: Mold-resistant paint or sealant to coat cleaned surfaces and prevent mold regrowth.
Step-by-Step DIY Mold Remediation Guide:
Now let’s walk through it, step by step, for these DIY-scale, localized problems: 1. Clean and dry everything thoroughly. If water has seriously soaked items in your home, you’ll need to remove them and either dry them out or replace them. Then you can return them to the room, clean the walls, floors, and other places that the dry items touched, and then thoroughly dry the area. 2. Decontaminate the room, from top to bottom. Once the area dries out, there will be mold spores floating around, so you should thoroughly clean the room, including sealing, treating, or replacing ceiling tiles.
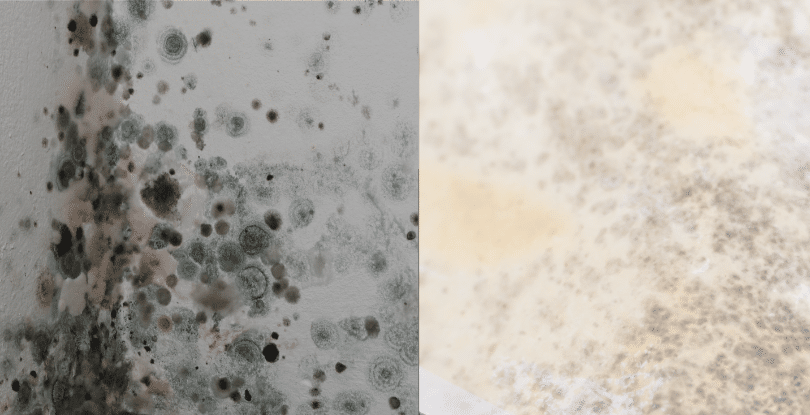
1. Do a walkthrough. Evaluate the extent of the mold problem in your home: identify where mold growth is visible and determine the source of the moisture. Determine if the mold was caused by a water intrusion (such as a leak or flooding) or from a persistent moisture issue (such as a lack of ventilation or an overabundance of houseplants). Note any areas that may need to be remediated by a specialist.
2. Prepare the Work Area: Before you begin remediation, set up the work zone by sealing off the moldy area with plastic sheeting and duct tape to prevent the spreading of mold spores to other parts of your home. Close doors and windows.
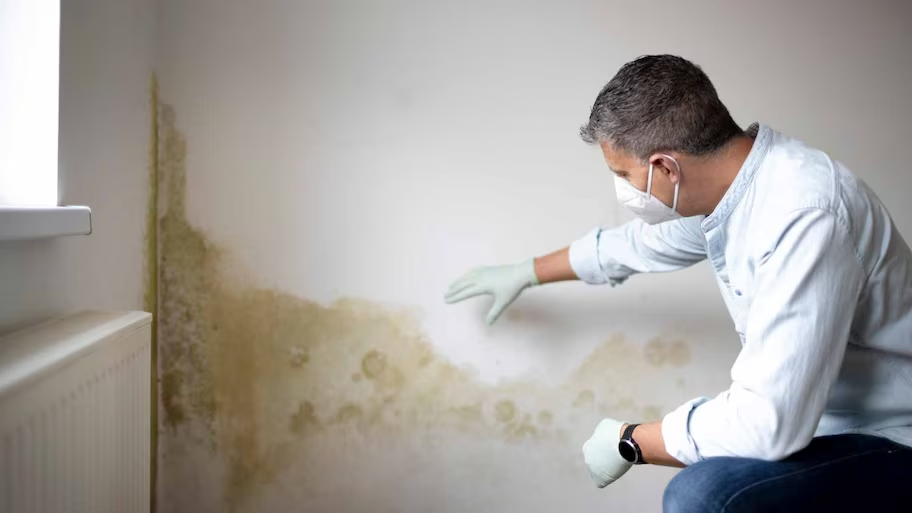
3. Suit up: Put on personal protective equipment (PPE) before going into the area to avoid exposure to mold, such as gloves, goggles and a respirator.
4. Discard moldy Materials: Remove any moldy materials such as damaged drywall, carpeting, insulation etc. Double bag moldy materials in heavy duty trash bags and dispose according to local regulations.
5. Scrub mold-Infested Surfaces: Wipe or scrub mold-infested surfaces with water and a product designed to kill mold or use a regular detergent and scrub brush. Scrub all surfaces with visible mold growth as well as those nearby that appear to be contaminated. Scrub until all mold is removed, then rinse and dry completely.
6. Dry the Area: Dry the remediated area. This will prevent mold from growing back. Use fans, dehumidifiers or open windows to dry the space, especially in spaces where you are likely to get moisture build-up.
7. Seal the Area: Make sure all the area is clean and dry, and then paint or install an anti-mold sealant on any coated surfaces. This added layer of protection can prevent mold regrowth, and serves as an additional protective barrier to help make the surface last longer.
8. Monitor returning mold: Once remediated, monitor for returning mold on a regular basis. Any signs of returning mold should be investigated – such as musty odors, water stains or new mold growth – and any suspected causes for moisture should be addressed promptly.
Safety Precautions:
For everyone’s sake, at various points of the DIY mold remediation process, you should take precautions, limit your exposure, and do everything you can to guard your health. Here is a list of safety guidelines:
– Wear appropriate PPE, including gloves, goggles, and a respirator mask, to prevent mold exposure.
– Work in a well-ventilated area to minimize inhalation of mold spores.
– Avoid mixing cleaning agents, as some chemicals can produce harmful fumes.
– Dispose of moldy materials properly according to local regulations to prevent contamination.
If you have allergies, asthma or other medical conditions, or are concerned about exposure, consider hiring a professional or taking extra precautions.
Whether you’re a homeowner or a tenant, DIY mold remediation can be a cost-effective alternative to professional mold removal, and a practical, healthy approach to take when you have a small mold problem in your home. This step-by-step guide will help you to remove mold safely and effectively, in order to prevent it from recurring. But it also describes the limits of DIY efforts so that, if your mold problem is significantly beyond the scope of DIY work, you’ll know when to call a professional.
With the right materials, tools and precautions, homeowners can take charge of mold issues and provide a safe, healthy home for themselves and their families. Do not let mold stay in your home; get rid of it today with your very own DIY mold remediation!
Do You Have Mold Issues? If You Think You Do, Call Us Toll Free, 1-855-947-6167 – For a Free, No Obligation Quote by a Professional Mold Remediator Near You!