In homes, mold can be a silent threat that is frequently hard to spot because it hides in moist, dark crevices. Using a mold test kit from House Depot might be a proactive way to find any problems before they worsen if you suspect mold growth in your house. Everything you need to know to use a Home Depot mold test kit properly will be covered in this article.
Recognizing the Dangers of Mold
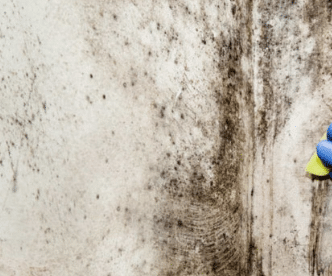
It’s critical to comprehend mold and the dangers it presents before beginning the testing process. Exposure to mold, a form of fungus that grows best in damp conditions, can cause a number of health issues, such as: issues with breathing, reactions to allergens, skin irritation, congestion in the sinuses, and Identifying mold early can help mitigate these health risks and prevent structural damage to your home.
Selecting an Appropriate Home Depot Mold Test Kit
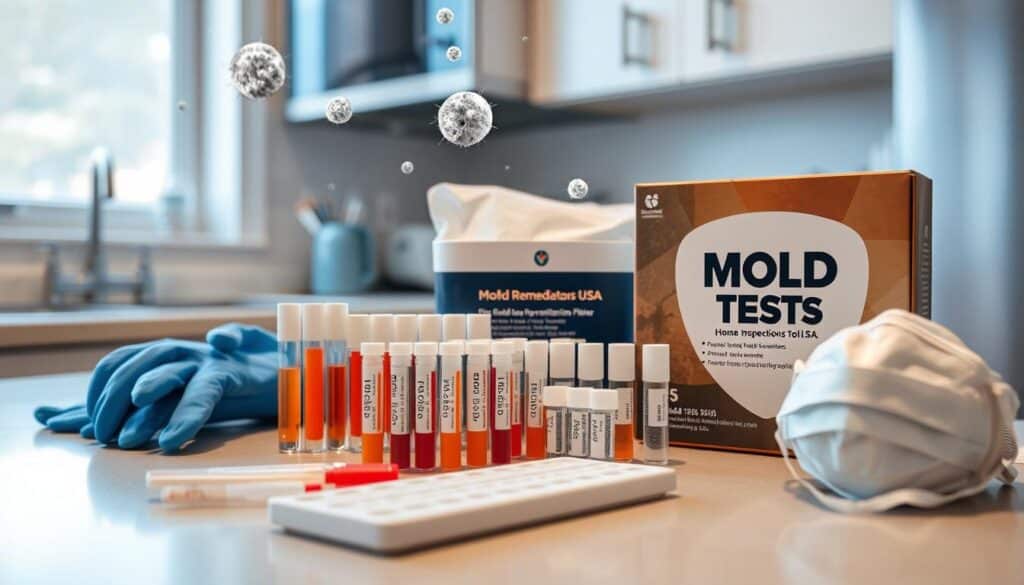
Mold test kits are available at Home Depot in a variety of designs to suit various purposes. The following are some options to think about:
Mold spores in the air can be measured with an air quality test kit to help you find any problems with indoor air quality.
Surface Test Kits: Made to check for the presence of mold on particular surfaces (such as walls and ceilings).
Bulk Sample Kits: To collect samples of potentially moldy goods for examination in a lab.
Advice on Selecting the Correct Kit
Determine your requirements: Choose whether to test particular surfaces or the quality of the air.
Examine Reviews: Examine user reviews to identify dependable and user-friendly kits.
Look for Options for Lab Analysis: A lab analysis is included in certain kits for more precise findings.
Getting ready for the Examine
Accurate outcomes can only be obtained through preparation. Before starting, take the following actions:
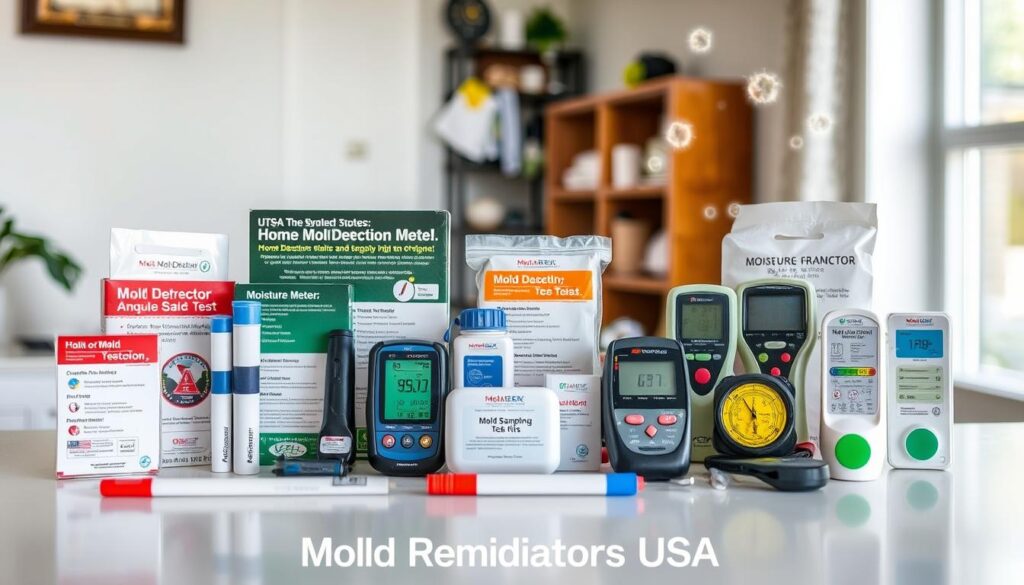
Determine the Testing Domains: Pay attention to damp spots like restrooms, basements, and the spaces surrounding windows.
Assemble Materials: You might also need a clean cloth, gloves, and a camera for documentation in addition to the test kit.
Shut Down HVAC Systems: This will lessen the chance that airflow will have an impact on your test findings.
Performing the Examination
It’s time to give the test now that you’re ready. Here’s a broad, detailed how-to:
For Test Kits for Air Quality:
Let’s open the kit: Pay close attention to the directions included with the kit.
Turn on the Sampler: Approximately chest height, position the air sampler in the middle of the room.
Put a timer in place: Give the sampler the allotted time to gather air samples (typically 1-2 hours).
Seal and Send: After the allotted time has passed, send the sampler to the assigned lab for analysis by sealing it in accordance with the kit’s instructions.
Regarding Surface Test Kits:
Choose the Surface: Locate a possible moldy area.
Get the Surface Ready: To get rid of dust and dirt, use a fresh towel to wipe the surface.
Grab the Example: Take a sample from the surface using the tape or swab that comes with the kit.
Seal the Sample: Place the sample in the provided container and seal it properly.
Interpreting the Results
After sending your samples to the lab (if applicable), you will receive your results, typically within a few days. Here’s how to interpret them:
Positive Results: Indicate the presence of mold. Identify the type of mold, as some can be more harmful than others.
Negative Results: Suggest that no mold was detected in the sampled areas, but keep monitoring your home for moisture issues.
What to Do with Positive Results
If your test indicates mold presence, take the following steps:
Identify the Source of Moisture: Look for leaks or areas of high humidity.
Remove Mold Safely: For minor areas, you may manage removal yourself using adequate safety gear (gloves, mask, goggles). For larger infestations, consider hiring an expert to remove mold from home.
Stop Further Growth: Use moisture control techniques, such as installing dehumidifiers, enhancing ventilation, and quickly repairing leaks.
When to Make a Professional Call
It is advisable to speak with a professional mold remediation service if you discover noticeable mold growth or have questions about your findings. They have the skills and equipment to treat complex mold concerns safely and effectively.